The Details Behind a Mudsill
Detailing the Mudsill for a High-Performance Home
While the concept of a mudsill isn’t groundbreaking, special attention to detail when installing the mudsill is crucial to maintaining a continuous air control layer from the foundation up to the wall system.
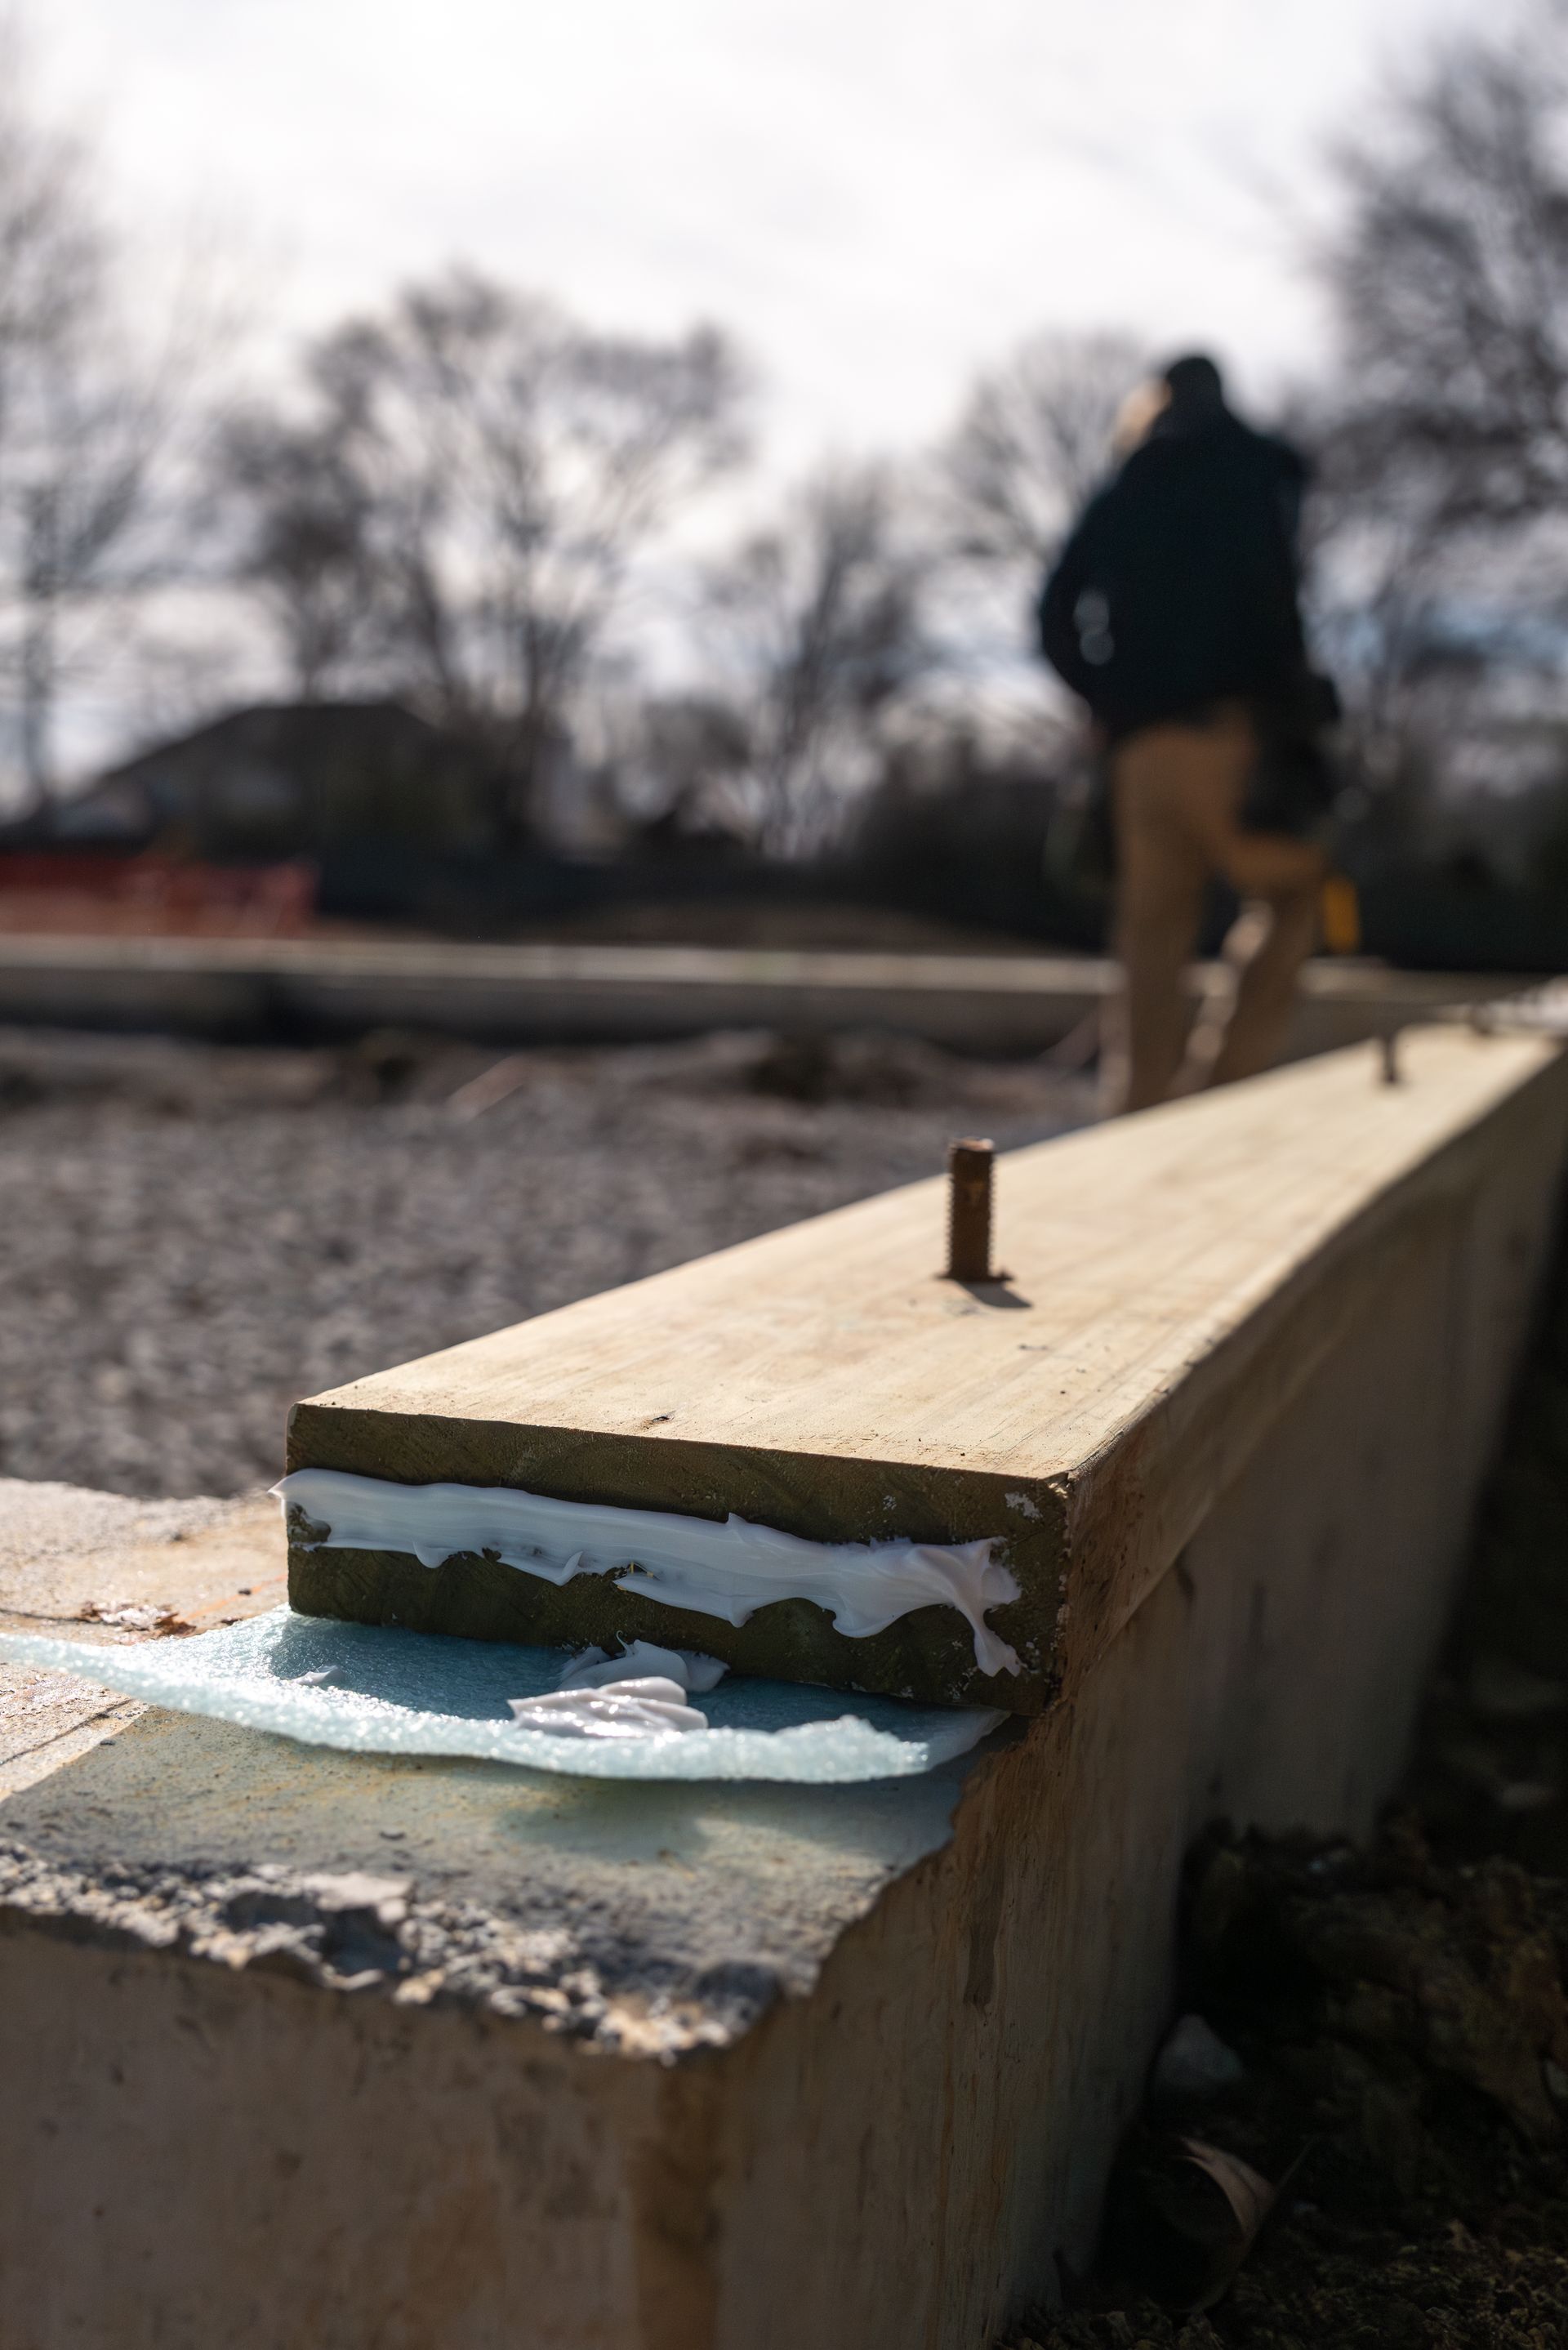
In order to achieve this we have to pay attention to how we transfer our air barrier from the actual foundation wall through the mudsill and into the wall system. We apply two continuous seams of Big Stretch sealant on top of the foundation wall. When placing two hard surfaces together you are bound to have spaces and gaps. The surface of a concrete foundation wall is never one hundred percent smooth and there will always be ridges and gaps in wood. Big Stretch sealant has a bit of elasticity to it which allows our air control layer to be continuous as materials, like wood, expand and contract through the various seasons. This is especially important in the Kansas City climate since we have our dramatically different seasons.
After the sealant is applied, we used what is known as a sill sealer to make the actual seal between the foundation wall and mudsill continuous. This step is standard in most construction. The sill seal serves as the capillary break between the high moisture content foundation wall and the wood framing - we don’t want the wood to absorb any more moisture than it needs to.
Before installing the actual plate, we apply another round of Big Stretch surrounding each bolt with a continuous line between them.
Another important detail is a simple line of Big Stretch on the edge of our boards to eliminate any gaps between the two surfaces. This is a similar idea as using a continuous bead of Big Stretch between the concrete foundation wall and the wooden board on the mudsill - two hard surfaces are never going to meet and be completely airtight. The sealant between the materials fills up any gaps between the surfaces to ensure a continuous airtight barrier.